Alright folks here is my first official post on the Team Waynedale blog! I am beginning a new segment called Terrain Time. As stated before I have a knack for scratch building things. I've done some converting my Orks forces, a Kustom Force Field Generator here, a few Grabba Klaws there, and a Wazdaka build. Recently however, I've turned my attention towards building terrain from scratch to make games of Warmahordes more interesting. We've been playing 40k for years and over that time we have obtained a large amount of 40k terrain. However, thematically this doesn't fit with steampunk fantasy battles. While it is true that some pieces can overlap fairly well (hills, rock formation, trees, as well as some of the more gothic and generic buildings) the difference in scale and time setting called for some minor expansion or the team's holdings. I had some raw found materials sitting around and some free time so I decided to get crafting. All of these pieces are constructed from 95-100% found materials gathered from my home, old employers from when I worked there a few years ago or stuff I've saved form other projects.
First up is the fountain:
 |
| A fountain that looks very Cygnar like |
This is derived from the bottom of a mint tin, 2 bottle caps, a portion of plastic bottle, and a few plastic pieces that I saved from being thrown away. I then spray painted a with a light brownish greyish color called fossil. After that I painted portions blue, gray, a light wash of turquoise to simulate marble, and left other the fossil color. Things that help are the existing shapes to the bottle caps (arches), holesaws, and a rotatory cutter.
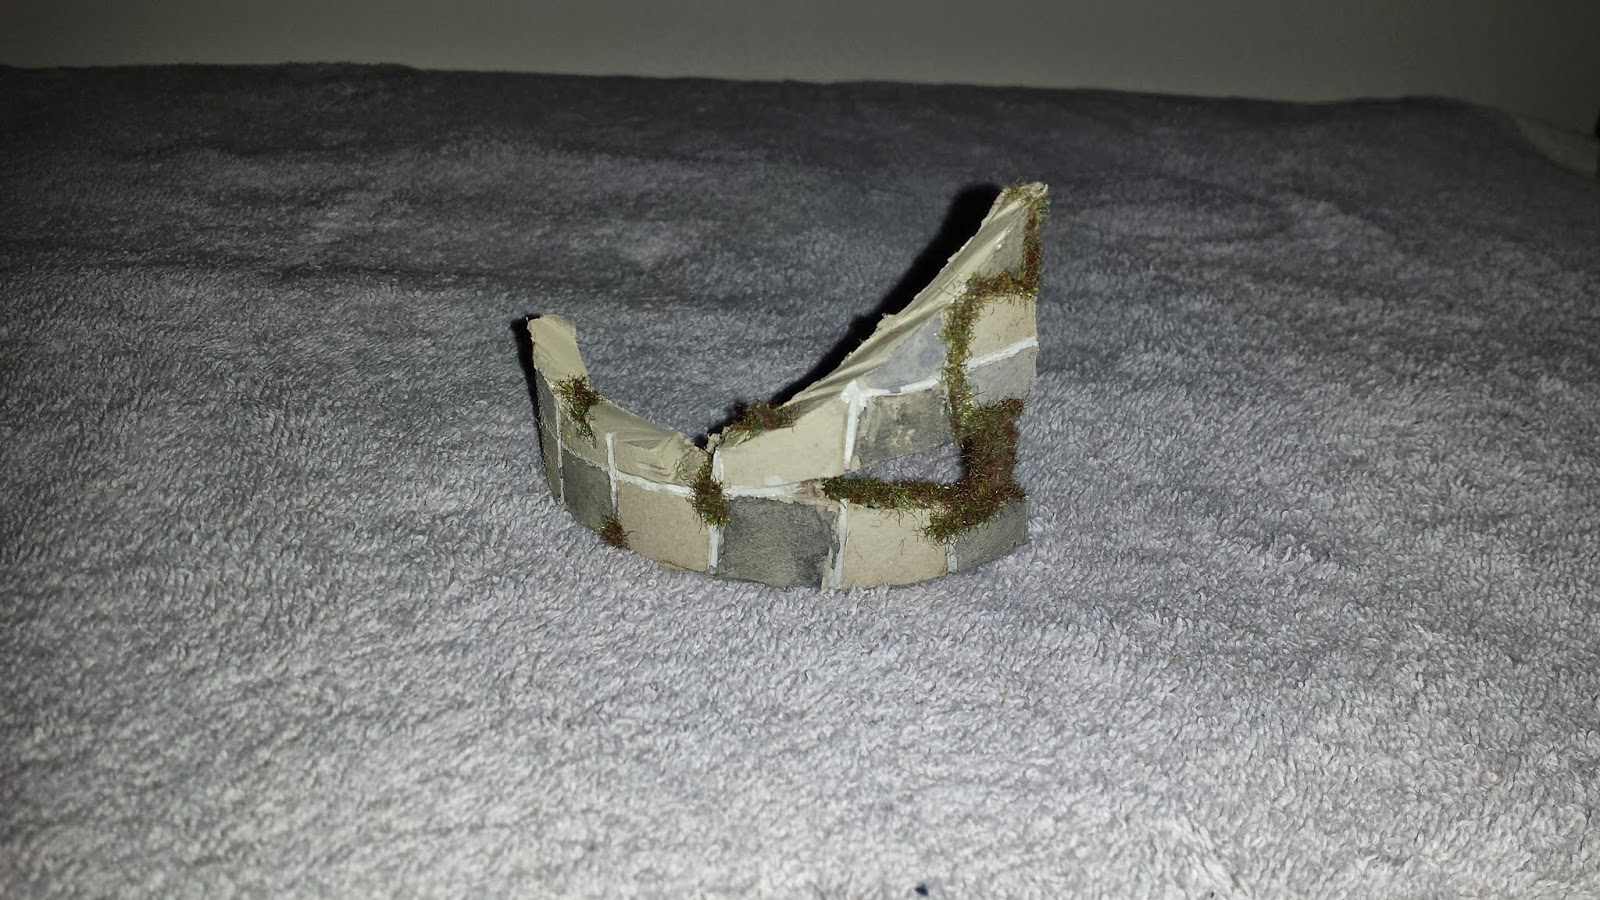
Palisades
 |
| A section of palisade suitable for either wilderness fortification or outlying urban fortification |
 |
| Same as above just with more variable elevation for some possible LOS shenanigans |
 |
| smaller section of the same |
These sections were construct from some tubes I've been saving for awhile. I simply cut the these tubes with my rotary cutter and glued them together to form these nifty log looking post walls. Just add paint and boom, you got terrain.
Cygnar Technology
 |
| A Cygnar center piece. It is a large device that generates an energy ring. We haven't 100% figured out what to do with it but it looks cool! |
 |
| Alternate view of the same |
 |
A smaller Cygnar energy device. This one is 50mm in diameter it can be used as an objective marker or a piece of scenery. It was the second one constructed so it sports a more "practical" appearance complete with flywheel in front between the 2 energy pylons.
|
 |
| The alternate view of the 50mm device |
These two pieces aren't really done justice by my photos but there is no way to fix this so these will have to do. I'll start with the rings. These are clear plastic rings that I placed a few thin layers of light blue or turquoise paint on. I also left a small portion of the rings unpainted across the top and outer circumference. This allows for light to pass through the ring cause them to glow. I also painted white lightning like irregular lines on the both rings. The bases of both devices are again juice caps. The machinery are printer cartage pieces on both rings. The are a few more plastic rings I used in the fountain. The energy pylons are painted section of pens that I cut down. On both of these devices. The green plastic was a gift from Sir Dragon they portions from some extra Necron weapon pieces.
Celestial temple
 |
| The front of a simpler structure. This is a celestial temple of sorts. It has an open top and mural around the entrance. |
 |
| The entrance side of the temple. The top and the mural are visible. |
This was derived from the same photo paper reams that the ruins are. I cut one of these reams in half and then cut a few other sections from it. One of these forms the roof. The silver rods are toothpick that have been cut down glued in place and then painted. The mural is actually cut into the surface and then painted like the mortar lines were.
Tower
 |
| The front entrance view to a tower. A multilevel structure. |
 |
| The other side of the same tower. |
The tower, I took one of the photo tubes and I cut a hole in one side, mortar lines, and battlements. I followed the same procedure as the ruins and I built the top floor from scrap cardboard. The remaining section of scrap cardboard also provided the area surrounding the entrance giving an awesome relief effect.
This is the all of the newly minted terrain from the last couple of months. Be on the lookout for more projects in the future. Team Waynedale has been talking about some really cool ideas so expect great things coming down the pipe!
That is all I've dug up for now.
Popculture Archaeologist


No comments:
Post a Comment